Property Management Companies
The Resident Has Moved In. Why Is Amenity Access Still Waiting?
A move-in-to-amenity workflow for property management teams that clarifies triggers, owners, readiness checks, exceptions, and first-visit instructions.

A resident can be fully approved to move in and still arrive at the clubhouse, pool, fitness room, or court without working amenity access. The leasing or association record may be complete, the welcome email may be sent, and the keys may be in hand. Yet the amenity team is waiting for a household update, the access list still shows a prior occupant, or the resident has not accepted the rules required for a reservation.
The cause is rarely one dramatic failure. It is usually a missing handoff between the team that completes the move-in and the team that operates the amenities.
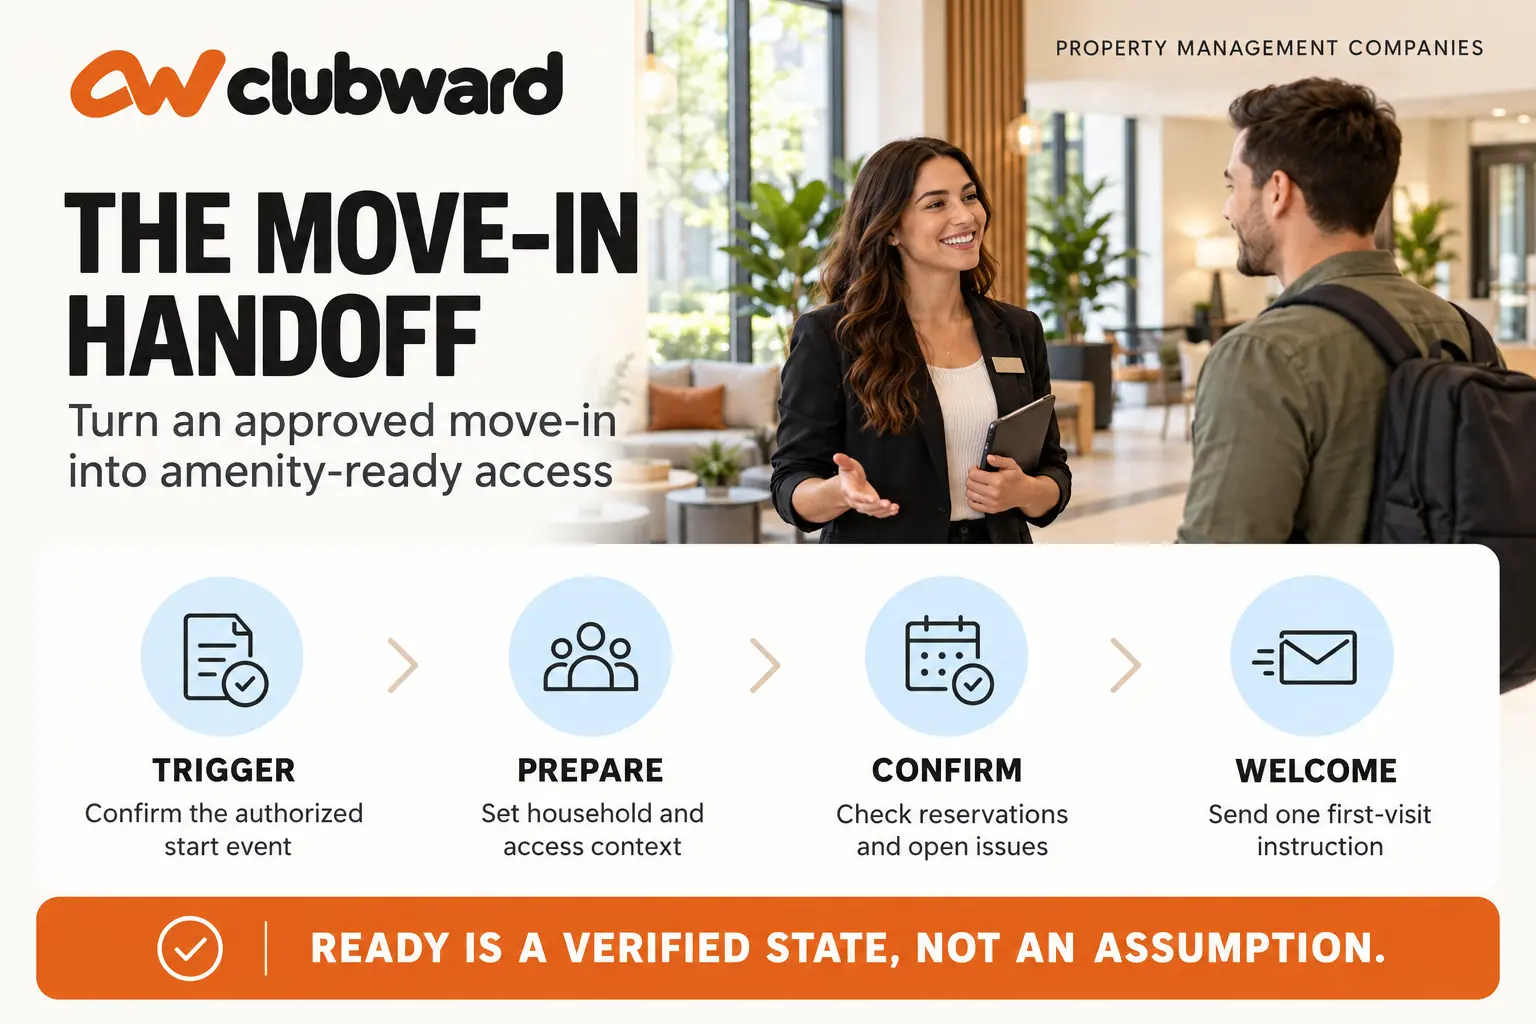
Property management companies can reduce that delay with a defined amenity-readiness workflow. Start it when the move-in is approved, identify the minimum information the amenity team needs, assign each step to a role, separate normal activation from exceptions, and confirm readiness before the resident tries to use a space. The workflow should cover the amenity operation without pretending to replace the property’s leasing, accounting, or association-management systems.
The move-in date is not the same as the amenity-ready date
A move-in record answers one set of questions: Who is occupying the home? When does occupancy begin? Which property or association rules apply? Amenity readiness answers another set: Which household members should be recognized? What access or reservation permissions should start? Which acknowledgements or orientation steps are incomplete? Who handles a mismatch?
When those questions are treated as one event, the handoff becomes invisible. Everyone assumes someone else completed it.
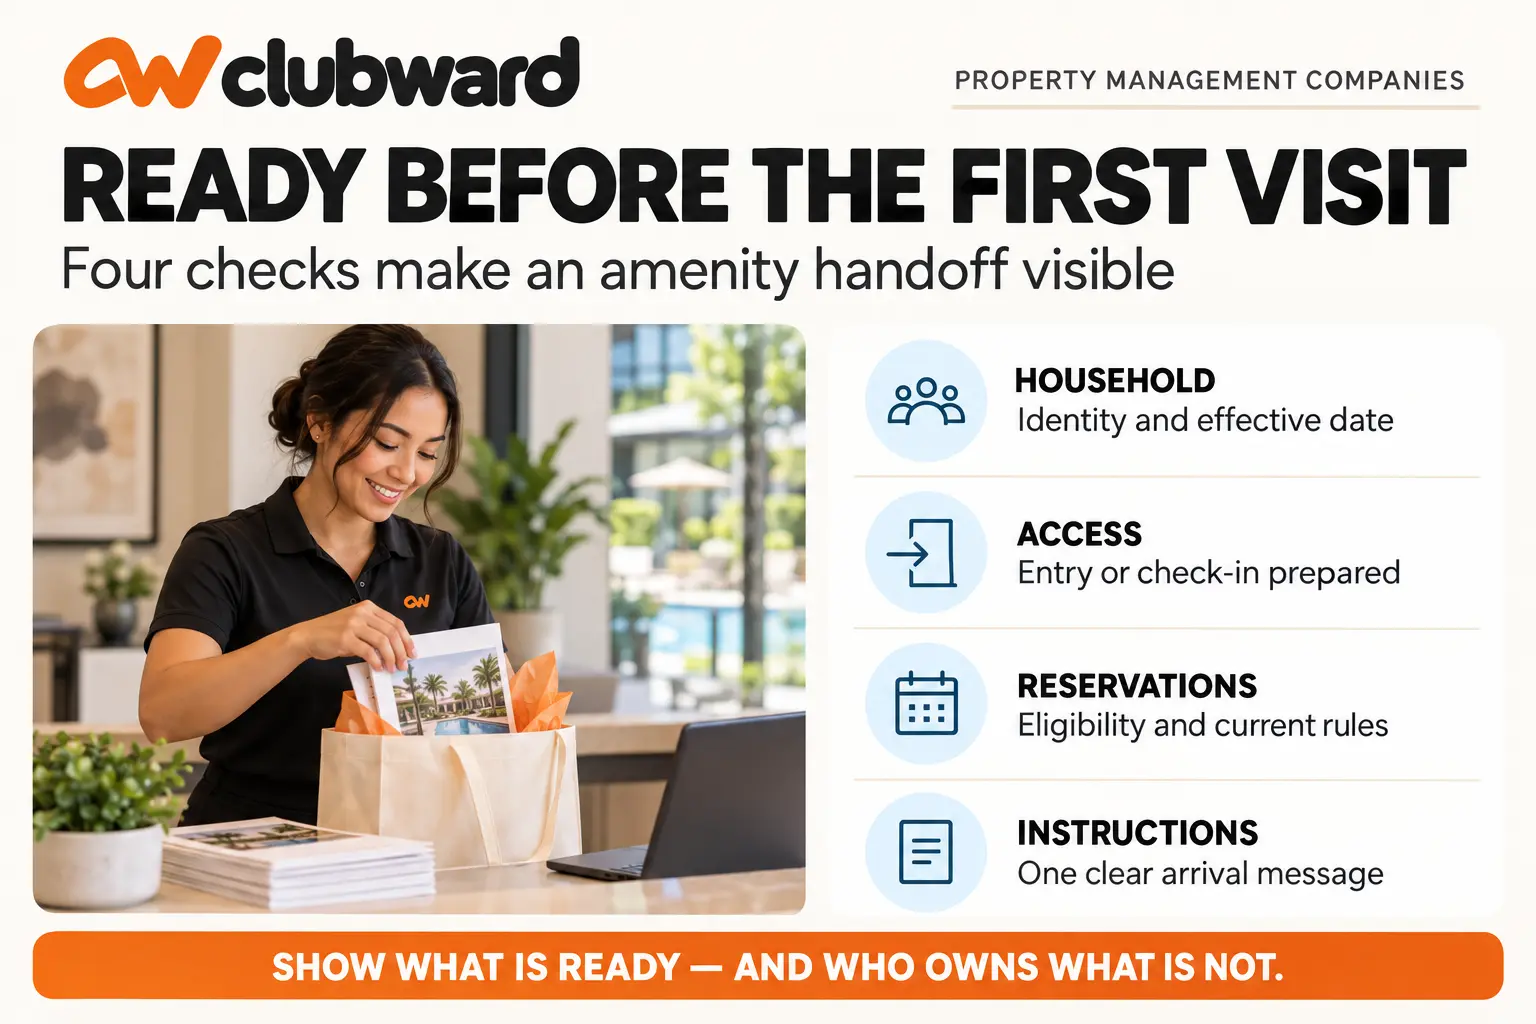
Define an explicit amenity-ready state. For example, a household may be considered ready when:
- the primary resident and relevant household members are identified;
- the effective date is confirmed;
- the prior household’s amenity status is retired when appropriate;
- required acknowledgements are complete;
- access credentials or check-in status are prepared;
- reservation eligibility is set according to current rules;
- the resident has received the correct orientation or instructions;
- any unresolved exception has an owner and a response time.
This is an operational definition, not a legal conclusion about tenancy or ownership. It gives the amenity team a finish line it can verify.
Map the handoff from approval to first use
Begin with one real move-in and trace what happens from approval through the resident’s first amenity visit. Include online and offline steps, because a resident experiences the journey as one service even when several teams and systems support it.
The UK Government Service Manual recommends designing across the complete journey and keeping channels joined up, including the work of front-line staff. Its current guidance emphasizes that people should not reach dead ends when they move between digital and human support. That principle translates well to community operations: a welcome email, reservation page, access desk, and on-site conversation should not behave like unrelated services.
Draw the current path with five columns:
- Trigger: What event starts the amenity handoff?
- Information: What data or confirmation moves forward?
- Owner: Which role acts next?
- Resident message: What does the resident receive or see?
- Proof: What confirms the step is complete?
Do not begin by drawing the ideal path. Record what actually happens. If the property team forwards an email to a general inbox, write that down. If a concierge checks two systems and a spreadsheet, include all three. If the resident must call because no confirmation exists, include the call.
The map will reveal gaps quickly: a trigger with no owner, a required field no one collects, an email that arrives before access is ready, or a completion status that only one employee understands.
Choose one reliable trigger
The workflow needs a clear starting event. “When the resident moves in” is too vague because it can refer to approval, lease execution, closing, key pickup, physical occupancy, or the official start date.
Choose the event that makes sense for the community’s amenity rules. It might be:
- a completed association or resident approval;
- a confirmed occupancy date;
- a property-management status change;
- a closing confirmation;
- an authorized resident roster update.
Then state who sends the trigger and how the receiving team knows it is valid.
A useful trigger contains a standard payload rather than a free-form note. It might include property, unit or address, primary contact, household members, effective date, prior occupant status, applicable amenity tier, and any approved accommodation that affects the workflow. Only include information the amenity operation genuinely needs, and follow the organization’s privacy and retention practices.
Avoid triggers based on an employee remembering to “let the clubhouse know.” A person can still own the step, but the event and required information should be visible and repeatable.
Separate the normal path from exceptions
Most approved move-ins should follow one predictable path. Design that path first.
Normal activation
The amenity team receives the verified trigger, creates or updates the household context, applies the correct start date, prepares access, confirms reservation eligibility, and sends the resident one readiness message.
The message should explain:
- when access begins;
- which amenities are included in the instruction;
- how check-in or entry works;
- how to make a reservation when required;
- what the resident must complete before first use;
- where to ask an amenity-specific question.
It should not restate an entire community handbook. Link to the current rules and pull forward the few actions needed before the first visit.
Exceptions
Create a separate route for conditions the normal path cannot resolve. Common examples include a duplicate household, an effective date that conflicts with the source record, a prior occupant who remains active, missing household information, an unrecognized amenity tier, or a requested exception outside staff authority.
For each exception, define:
- the role that decides;
- the evidence it needs;
- the temporary status while the question is open;
- the resident-facing explanation;
- the place where the resolution is recorded.
Do not let the exception route become a second normal process. If the same issue appears repeatedly, fix the trigger or required data rather than teaching staff another workaround.
Assign roles by action, not department
Department labels can hide who does the work. “Property management sends it to amenities” sounds clear until a Friday afternoon move-in reaches an unmonitored inbox.
Assign each step to a role and name a backup. A simple responsibility table might look like this:
| Step | Primary role | Backup | Completion evidence |
|---|---|---|---|
| Confirm move-in trigger | Community manager | Operations coordinator | Verified status and date |
| Send amenity handoff | Resident services | Community manager | Timestamped handoff record |
| Prepare household and access | Amenity administrator | Front-desk lead | Ready status with effective date |
| Resolve a source mismatch | Community manager | Designated regional lead | Decision recorded with source |
| Send first-use instructions | Amenity administrator | Resident services | Delivered message or resident task |
| Verify first visit | Front-desk team | On-call lead | Successful check-in or documented issue |
The exact titles will vary. The principle is stable: each action has one primary owner, a backup, and visible proof.
This also protects the boundary between the community’s governing decisions and management execution. CAI notes that a community manager implements board decisions but does not set policy. Its summary of manager responsibilities helps clarify which questions belong in the operating workflow and which must return to association leadership.
Build a readiness check that takes less than two minutes
Before the resident’s access start time, the amenity team should be able to answer a short set of questions without reconstructing the whole move-in.
Use a green, waiting, or exception status for each item:
- Household identity confirmed
- Effective date confirmed
- Prior occupant status handled
- Required acknowledgement complete
- Access prepared
- Reservation eligibility prepared
- Welcome or orientation sent
- Exception owner assigned, if needed
The readiness check is not a second database. It is a view of whether the operational steps are complete. If the same information already exists in an authorized system, reference it rather than asking staff to retype it.
Set a cutoff for review. For example, moves effective the next day may be checked at a consistent afternoon time, while same-day changes follow an urgent path. The cutoff is an operating commitment, not a guarantee to residents; it helps the team find incomplete handoffs while there is still time to act.
Design the resident message around the first visit
A new resident does not need a tour of the organization’s internal process. They need to know what to do next.
Write the message in the order the resident will act:
- Your amenity access begins: Give the date and any relevant time.
- Before you arrive: Identify required acknowledgements, photos, orientation, credentials, or guest steps.
- To reserve a space: Explain whether and where reservations are required.
- When you arrive: Explain entry or check-in in a few sentences.
- If something looks wrong: Give one amenity support route and the information to include.
Avoid saying “your account is all set” unless every relevant step is actually complete. A narrower confirmation—“Your clubhouse and court access is ready beginning Tuesday”—is more useful and easier to verify.
If a step is still waiting, say which one and who owns it. “We are confirming the effective date with the community management team” is clearer than “pending approval,” especially when the resident already believes approval is complete.
Test the process with three move-in patterns
Use real workflow conditions without exposing private resident information. Walk the team through:
A routine move-in
The approval is complete several days ahead, the effective date is clear, and the household information is complete. The team should be able to finish without an email chain.
A late change
The occupancy date moves forward by two days after the welcome message has been prepared. Test which status changes, who is notified, and whether the resident receives a corrected instruction.
A conflicting record
The property source shows the new household, but the amenity record still shows the prior occupant active. Test whether staff know which source controls, who resolves the conflict, and what the resident hears while it is reviewed.
Have a person who did not design the process follow the instructions. Note every question, search, and assumption. The best process test is not whether the author can explain it; it is whether another employee can complete it using the written workflow.
Connect the move-in record to amenity readiness
Use Clubward for HOA amenity operations to explore how household information, access, reservations, communications, and staff handoffs can work together. Start with the move-in record your team already trusts, then identify the information and actions needed to prepare the resident’s first visit.
The move-in may originate in a leasing, association, or property-management system. Keep that record’s owner responsible for occupancy details and corrections. The amenity team needs an authorized handoff, a clear effective date, and a way to return mismatches to the source owner.
When evaluating a setup, bring a real scenario and ask:
- Can the amenity team identify a household and the effective date it should use?
- Can staff see whether access and reservation steps are ready?
- Can the team send current instructions without copying an old template?
- Can an unresolved mismatch move to a named owner?
- Can the front desk see the outcome without reading a private email thread?
- Can managers review where handoffs are repeatedly waiting?
Map one routine move-in and one exception before the demo. Use Clubward’s practical operations guides to prepare questions about ownership, readiness, and the resident’s first visit. Ask the team to show each handoff with your property’s actual requirements.
Review the first visits and improve the trigger
For the first several move-ins using the new process, review whether the resident reached the amenity-ready state before first use. Do not turn the review into a scorecard for blaming individuals. Look for structural friction:
- Which required field was most often missing?
- Which trigger arrived too late?
- Which exception repeated?
- Which resident instruction produced questions?
- Which completion status was unclear to the front desk?
- Which old list or message remained in circulation?
Fix the earliest point that caused the problem. If access preparation is waiting because the effective date is missing, adding another front-desk reminder treats the symptom. Improve the move-in handoff so the date arrives with the trigger.
Share the learning across properties where the same amenity model applies, but keep community-specific rules visible. Standardization should create a common structure—trigger, required information, owner, readiness check, exception path—not erase legitimate differences in governing documents or local operations.
A practical move-in-to-amenity workflow
Use this sequence as a starting point:
- Define the exact event that starts the amenity handoff.
- Specify the minimum authorized information the amenity team needs.
- Assign each action to a role and name a backup.
- Define the amenity-ready state.
- Build the normal activation path.
- Route mismatches and exceptions to named decision-makers.
- Check readiness before the access start time.
- Send one first-visit message based on the resident’s next actions.
- Verify the first visit and record any issue.
- Review recurring gaps and improve the trigger, not just the workaround.
The resident should not need to understand the boundary between teams to use a community amenity. A deliberate handoff lets each team keep its proper role while presenting one clear path from approved move-in to ready access.
To evaluate that path in context, bring one routine move-in and one difficult exception to a walkthrough. Book a personalized Clubward demo to test how your amenity onboarding, access, reservation, and handoff steps could work together.
From Clubward Editorial Team
More from Clubward