Community & Recreation Centers
A Program Launch Checklist for Recreation Centers: Room, Roster, Coverage
Use this practical launch checklist to align the program roster, room, staff coverage, participant message, and first-session follow-up before the doors open.

A recreation program is not ready merely because registration is open and a room appears on the calendar. The participant promise, roster, space, instructor, front desk, equipment, and first-session message all need to describe the same plan.
This checklist gives a program coordinator one place to verify those handoffs. Use it before the first session, after any material change, and whenever a new person takes responsibility for the launch.
The goal is simple: a participant should arrive at the right place, a staff member should know what to do, and an instructor should be able to begin without reconstructing the program from several conversations.
Name the program promise first
Write one sentence that describes what the participant registered for: the activity, intended audience, date or series, location, and any important preparation. That sentence becomes the reference point for the rest of the checklist.
If the program changed after promotion, identify the current promise before checking logistics. A new room, time, instructor, or format may require more than an internal calendar update. Ask what the participant already saw and what they need to know now.
Keep marketing language separate from operating detail. “A welcoming beginner class” may describe the experience; staff still need the room, arrival route, equipment, capacity, accessibility information, and contact for questions.
Confirm the roster and the enrollment rules
Review who is confirmed, who is waiting, and which records staff should use at arrival. Define whether the roster includes cancelled registrations, unpaid holds, or people who have not completed a required step.
Check the capacity against the real room and activity, not only the number entered when the program was created. Chairs, movement space, equipment stations, entry routes, and staff supervision can affect how the published capacity works in practice.
If a waitlist exists, write the release process before a place opens. Name who sends the offer, how long the person has to respond, what counts as acceptance, and when the next person is contacted. The launch checklist should not quietly rewrite the organization’s approved enrollment rules.
Walk the room as the participant will experience it
Confirm the building, room name, entrance, opening time, setup window, expected layout, storage location, and closeout responsibility. Walk from the public entrance to the program space instead of relying on a map that staff already know by memory.
Check whether another activity needs the room before or after the session. A ten-minute calendar gap may not provide enough time to reset chairs, move equipment, or welcome the next group. Record the actual setup and transition requirements.
Note accessibility and accommodation steps the organization has approved for the program. Give staff a clear contact for questions that should not be decided at the door.
Assign coverage, including the backup
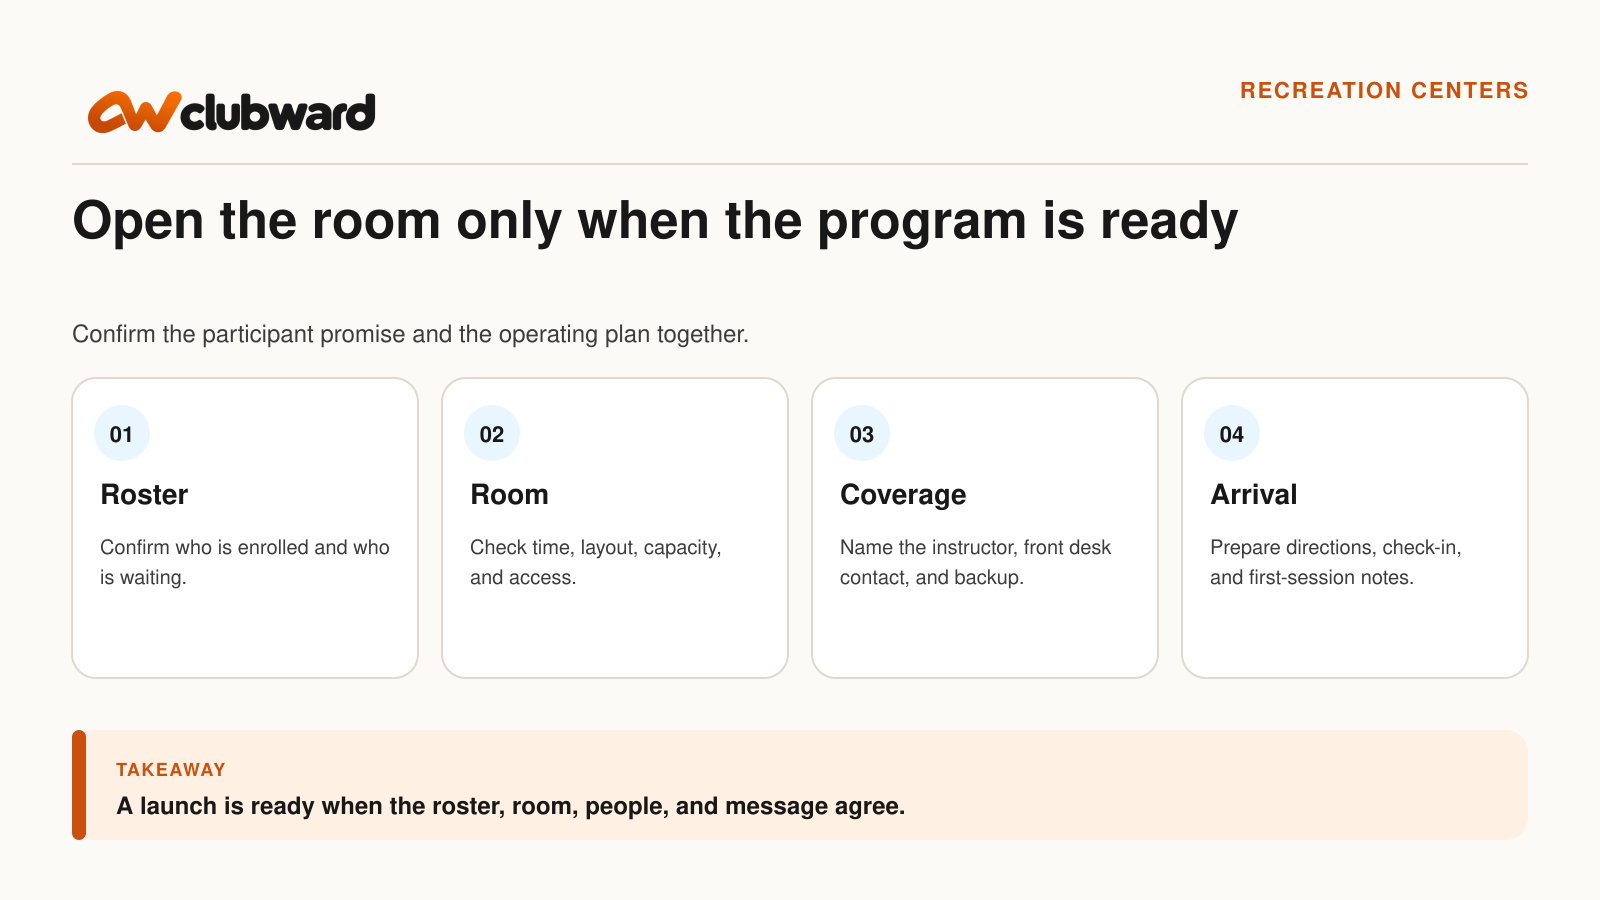
Name the instructor, program coordinator, front-desk contact, setup owner, and backup. One person may hold several roles, but the checklist should make that visible. “Staff” is not an owner.
Confirm arrival times and the moment responsibility changes hands. The setup lead may prepare the room, the instructor may accept the participant group, and the front desk may handle late arrivals. Write those boundaries so no one assumes another person owns the transition.
Give the backup enough information to act. A name on the schedule does not help if that person cannot reach the roster, room instructions, or participant message. Review permissions and access before the first session.
Prepare equipment and program materials
List what must be in the room, what the instructor brings, what participants bring, and what the center provides on request. Avoid vague entries such as “supplies ready.” Name the quantity, storage point, and person who confirms readiness.
Test equipment that can stop the session: a projector, sound system, key, access card, court divider, timer, or specialized tool. Record the alternative when a nonessential item fails. If the program cannot safely continue without an item, identify the decision owner and participant-notification process.
Remove materials left from the previous activity if they would confuse the new group. A well-prepared room communicates that the program has an owner.
Write the arrival path in plain language
Tell participants where to enter, when to arrive, what to bring, and how check-in works. If the center has more than one entrance or similar room names, include a landmark or desk name rather than assuming the address is enough.
Decide how staff will handle a participant who is not on the roster, arrives after the start, needs an accommodation, or believes they registered under another household member. The answer may be to pause and ask the coordinator; write that route clearly.
If you’re exploring Clubward for your community or recreation center, bring one program to your demo. Walk through the member records, shared spaces, front-desk tasks, and staff handoffs your team needs, and confirm the plan and modules that fit your center.
Give the front desk a one-page brief
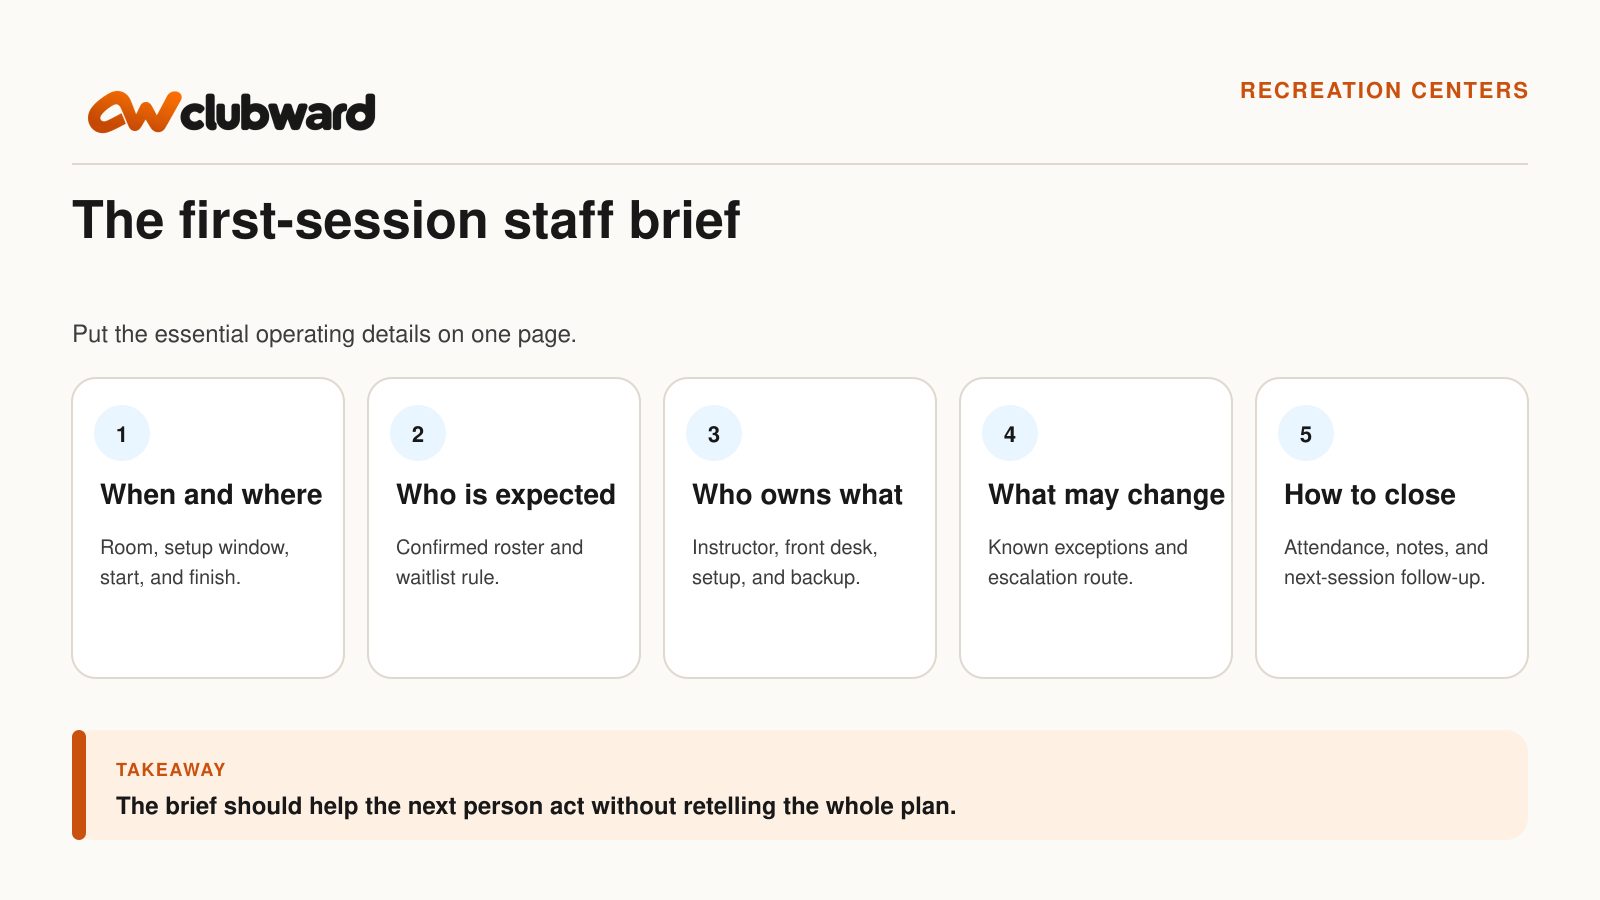
The front desk does not need the entire planning file. It needs the program name, date and time, room, expected roster, arrival instructions, known exceptions, coordinator, and escalation route.
Put the current brief where the desk will actually look. Remove an old version when the room or time changes. If the center uses a shared calendar, confirm that the brief and calendar match rather than assuming one update changed both.
Ask a staff member who did not plan the program to read the brief. Can they answer where the participant goes, who can be admitted, and whom to contact? Edit the guide until the answer is yes.
Rehearse the exceptions before opening
Use three short scenarios. A registered participant is missing from the printed roster. The assigned room is still occupied. The instructor is delayed. Ask the team to follow the current records and instructions without relying on the coordinator’s memory.
Record where the process breaks. The answer may be a clearer contact, a shared status, a backup space, or a better participant message. Do not add a rule simply because the rehearsal exposed an unusual situation; route policy questions to the authorized owner.
Repeat the test after a material correction. A rehearsal is useful only when the final process reflects what the team learned.
Check the participant message against the room
Open the email, registration confirmation, website listing, or portal message the participant will see. Compare it with the current schedule and the physical route. Verify links and avoid sending an image that contains essential instructions the screen reader or mobile view cannot present clearly.
If the program changed, make the change the first useful sentence. State the current time or room, the effective date, and what the participant should do. Do not force readers to compare two long descriptions to find the difference.
Keep one response owner for questions generated by the update. That person can coordinate with the instructor and front desk instead of giving participants several places to ask the same question.
Plan attendance and closeout before the session
Decide how attendance will be recorded, who completes it, and when. Define a no-show, late arrival, guest, or drop-in according to the center’s actual program rules. Do not create a measure after the session and expect staff to reconstruct it accurately.
List the closeout tasks: room reset, equipment return, incident or maintenance notes, roster completion, participant follow-up, and any change required before the next session. Give each task an owner.
The closeout should improve the next session. Capture questions that reached the desk, equipment that was missing, directions that confused participants, and changes the instructor recommends. Decide which items require immediate action and which belong in a later program review.
Use a final release check
- The program promise matches the current schedule and room.
- The roster definition and waitlist process are clear.
- The room is available for setup, the session, and reset.
- The instructor, front desk, setup owner, and backup are named.
- Equipment and materials have owners and alternatives.
- Participants have current arrival instructions.
- Staff can handle the three most likely exceptions.
- Attendance and closeout tasks are assigned.
If one item is unresolved, do not hide it behind a general “ready” status. Record the issue, owner, next check, and effect on the launch. A conditional release can be appropriate when the condition is visible and proportionate.
Avoid the launch shortcuts that fail at the door
Do not assume the room calendar proves the space is usable. The room may be booked correctly while the setup window, equipment, transition, entrance, or accessibility step remains unresolved. Walk the space and compare it with the participant message.
Do not give the front desk a link to a large planning document and call that a handoff. Extract the few details the desk needs to welcome people, find the current roster, handle likely exceptions, and reach the program owner.
Do not treat the instructor as the owner of every operating question. Instructors can lead the activity, but enrollment, payment, access, room readiness, participant communication, and facility issues may belong to other roles. Name those boundaries before the first arrival.
Do not wait until after the session to decide how attendance should be recorded. Staff will interpret late arrivals, guests, transfers, and no-shows differently unless the program defines them in advance.
Do not publish a room or time change in one channel and assume the rest of the operation updated itself. Check the registration page, confirmation message, calendar, front-desk brief, instructor note, signage, and any reminder that will still be sent.
Use the first session as a controlled learning cycle
Ask the coordinator, instructor, and front desk to capture only a small set of observations: where participants hesitated, which question repeated, whether the room setup supported the activity, and which handoff required an interruption.
Review those observations before the second session. Fix the clearest operational problem, update the current brief, and tell the people who use it. Avoid making several untested changes simply because the first session generated a long list of ideas.
Keep the participant promise stable unless a change is necessary. The learning cycle is meant to improve delivery, not to turn every session into a different product.
Schedule a ten-minute closeout with the three operating roles. Confirm the attendance record, room condition, unresolved participant question, and any change required before the next session. Assign each item before the group leaves. If the program continues weekly, this small routine prevents an issue from being rediscovered at the next opening.
Use the updated launch checklist for the second session instead of keeping a separate correction list. The checklist should remain the current operating source. Archive the prior version only if the organization needs it, and make sure staff are not choosing between several documents with similar names.
Invite the instructor and front desk to identify one improvement each, then choose changes according to participant impact and operational risk. A missing arrival direction may need immediate correction; a preferred room layout may be tested at the next session. Record why the team chose the sequence so a later coordinator can distinguish a deliberate priority from an overlooked task.
Confirm the revised brief before the next reminder is sent. A correction inside the staff checklist does not help participants if an older confirmation message continues to point them to the wrong room or arrival process.
Test the launch in the platform you are evaluating
Use your launch checklist to evaluate recreation management with Clubward. Start with a participant’s registration, then check the room reservation, staff coverage, check-in, and follow-up. Confirm the modules and setup needed for each step.
Bring one real program and ask the demonstrator to follow it from enrollment to room assignment, staff access, participant arrival, attendance, and closeout. Note what lives in the platform, what requires an agreed procedure, and what remains outside the scope.
Bring your next launch to a Clubward demo
Choose a program with a roster, shared room, front-desk handoff, and backup requirement. Book a personalized Clubward demo and ask the team to map the exact launch, including the modules and decisions your center would need before calling it ready.
From Katelyn Pauley
More from Clubward